Table of contents
Open Table of contents
들어가며
오랫동안 미뤄 왔던 블로그 제작… 오늘 그 작업을 시작하고 그리고 드디어 마무리 했다.
이 글에서는 그 과정을 다룬다. (나중에 내가 까먹으면 다시 보려고)
Astro Paper Theme fork하기
Astro Themes에서 blog theme로 사용할 만한 theme를 둘러 봤다. 그런데, blog로 filtering했을 때 가장 좌측 상단에 위치해 있고, GitHub Star도 많이 받은 Astro Paper가 눈에 띄었다. 그래서 해당 repo를 내 github.io repo로 fork해서 사용했다.
fork된 github.io repo setting
branch 관리 전략
 Github Actions으로 Build와 Deploy를 동시에 하는 branch인
 gh-pages branch를 default branch로 두었다.
그리고, downstream의 main branch는 upstream인 Astro Themes의 main에서 주기적으로 pull해 와서, major한 변경 사항이 있다면 반영을 해준다.
또, gh-pages branch에서는 pull된 main branch를 merge하는 식으로 blog repo branch를 관리할 것이다.
deployment branch 설정
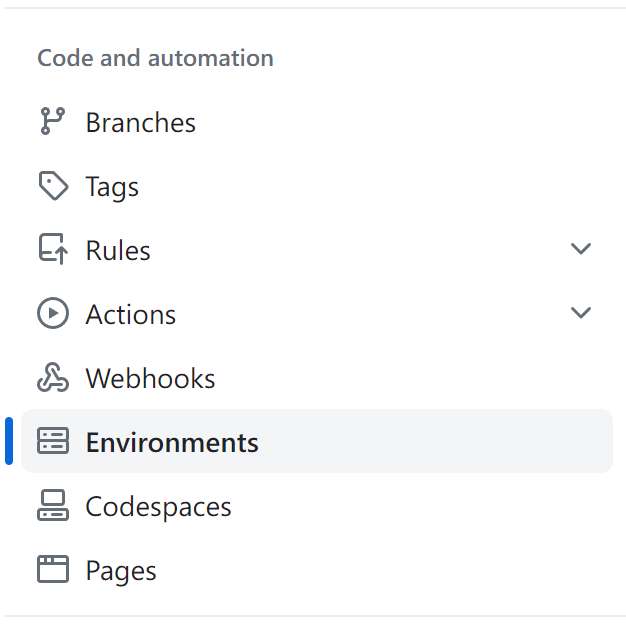
Repository Settings / Environments / Configure github-pages에 들어가서, deployment branch를 gh-pages로 꼭 setting을 해 놓자.
이렇게 설정을 해 놓지 않으면, deploy가 되지를 않는다.


Build and Deployment Source Setting
Repository Settings / Pages 에 가면 하기와 같이 Build and Deployment Source를 직접 고를 수 있다. Github Actions와 Deploy from a branch가 있는데, 필자는 Github Actions로 할 것이다. 왜냐하면, Astro Docs에서 그렇게 Github Pages에 deploy하라고 나와 있기 때문이다.
Custom Domain Setting
필자는 github.io 도메인이 별로여서, 가비아에서 Custom Domain을 큰 마음 먹고 구입했다.
Repository Settings / Pages 에 가면 하기와 같이 Custom Domain을 설정할 수 있다. 일단은 본인의 Custom Domain을 적어 놓자. (사실 더 해줘야 할 작업들이 남아 있다.)
