Table of contents
Open Table of contents
들어가며
Ubuntu Linux에 zsh을 설치하고, default shell을 zsh로 바꾸자.에서 Ubuntu Linux의 default shell을 bash에서 zsh로 변경했다.
변경을 했지만은, 아무런 theme가 적용되지 않은 zsh은 너무 못생겼다.
그래서 ohmyzsh을 설치하여, shell을 꾸며보자.
Install prerequisites
sudo apt install -y curl wget gitInstall ohmyzsh
sh -c "$(curl -fsSL https://raw.githubusercontent.com/ohmyzsh/ohmyzsh/master/tools/install.sh)"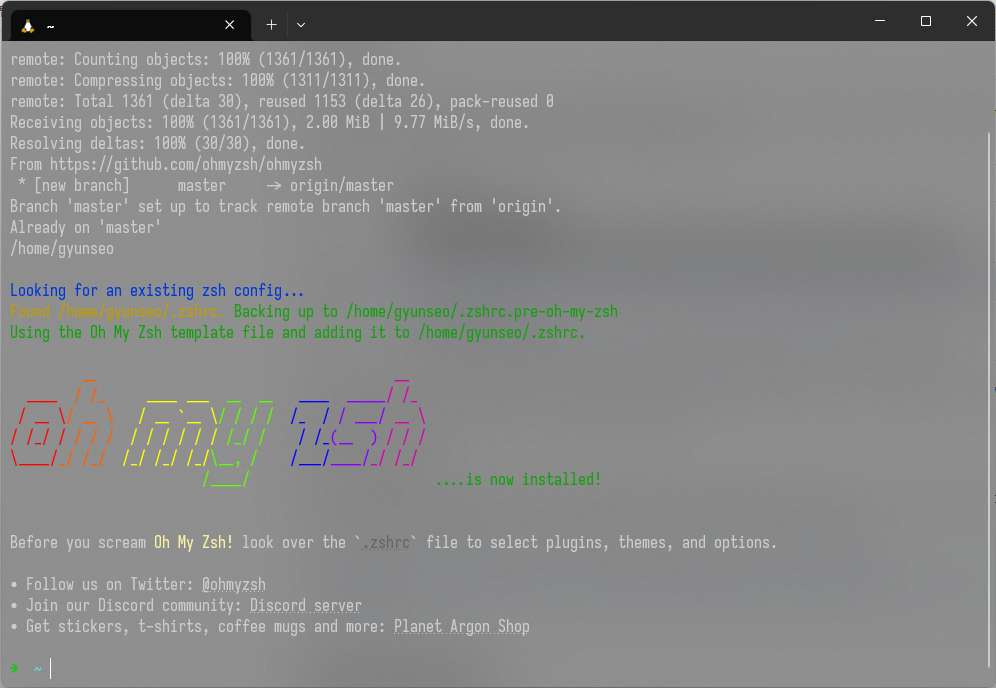 설치가 완료되면 상기 사진과 같이 shell이 나온다.
.zshrc 설정
Note that any previous
.zshrcwill be renamed to.zshrc.pre-oh-my-zsh. After installation, you can move the configuration you want to preserve into the new.zshrc.
ohmyzsh github repo에 상기와 같은 내용이 나와 있다.
그래서 우리가 애써 zsh을 설치하고 나서 설정했던, locale 설정이 다시 원복됐다.
locale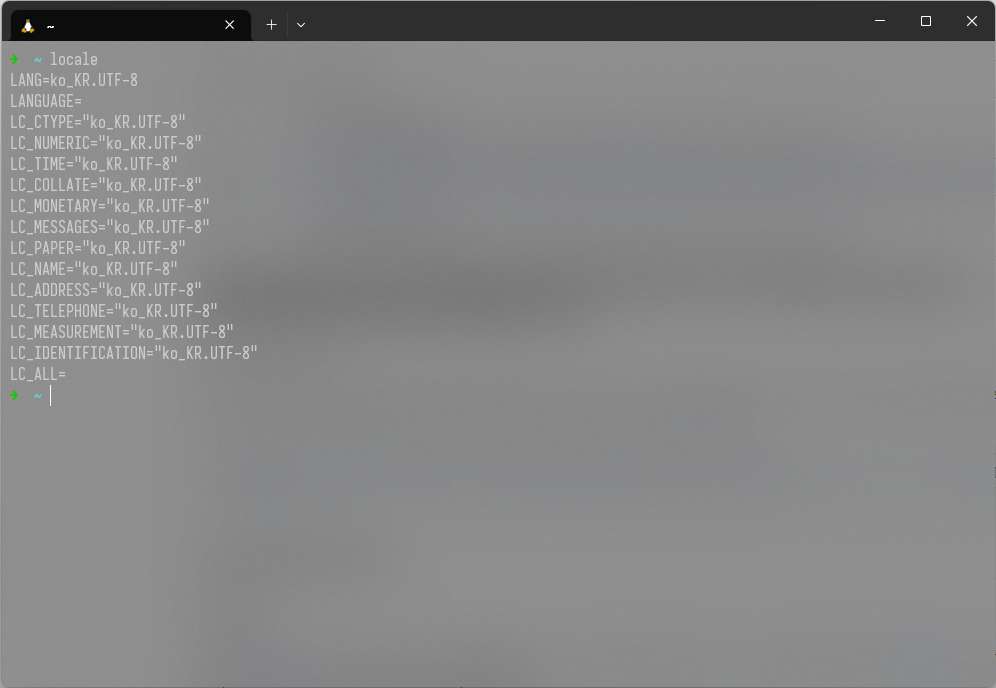 상기 이미지와 같이 모든 locale이
 ko_KR.UTF-8로 돼있는 것을 알 수 있다.
vim ~/.zshrc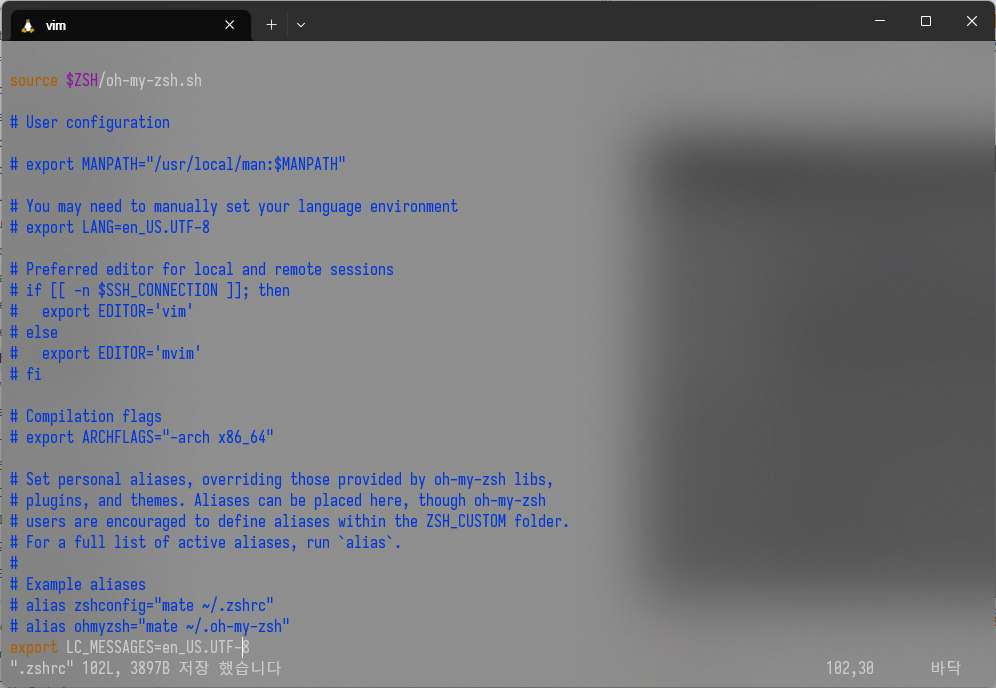
vim으로 .zshrc 마지막 line에
export LC_MESSAGES=en_US.UTF-8을 추가하여, zsh에서 LC_MESSAGES는 en_US.UTF-8 locale로 확인하고자 한다.
source ~/.zshrc상기 명령어로 logout하지 않고, 현재 shell session에 설정을 바로 반영하자.
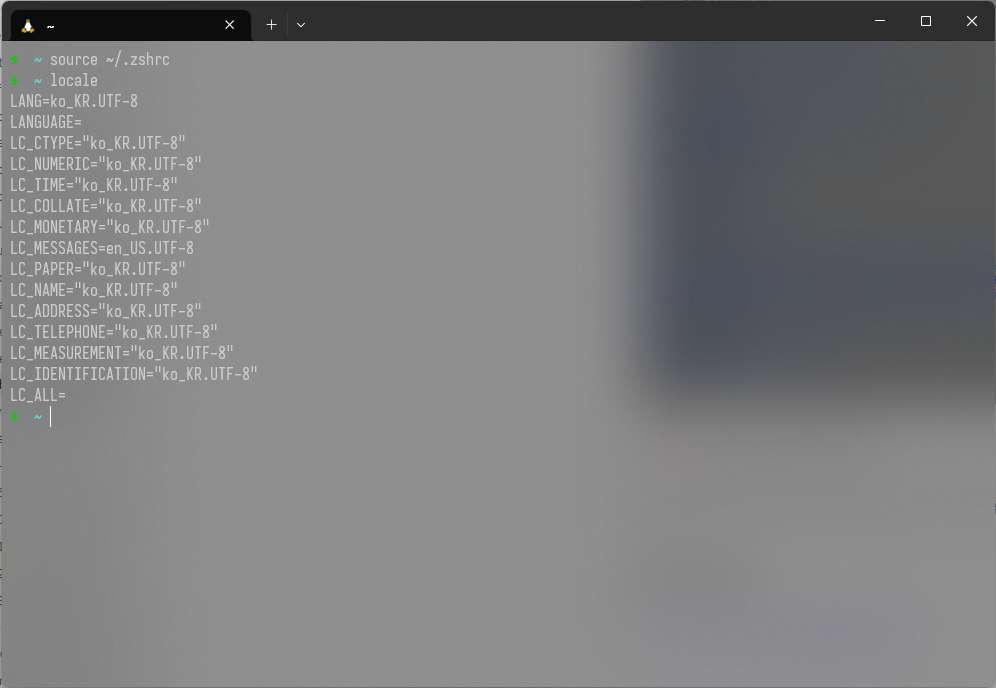
LC_MESSAGES만 en_US.UTF-8로 잘 설정이 된 것을 알 수 있다.
Theme
vim ~/.zshrcZSH_THEME을 agnoster로 변경한다.
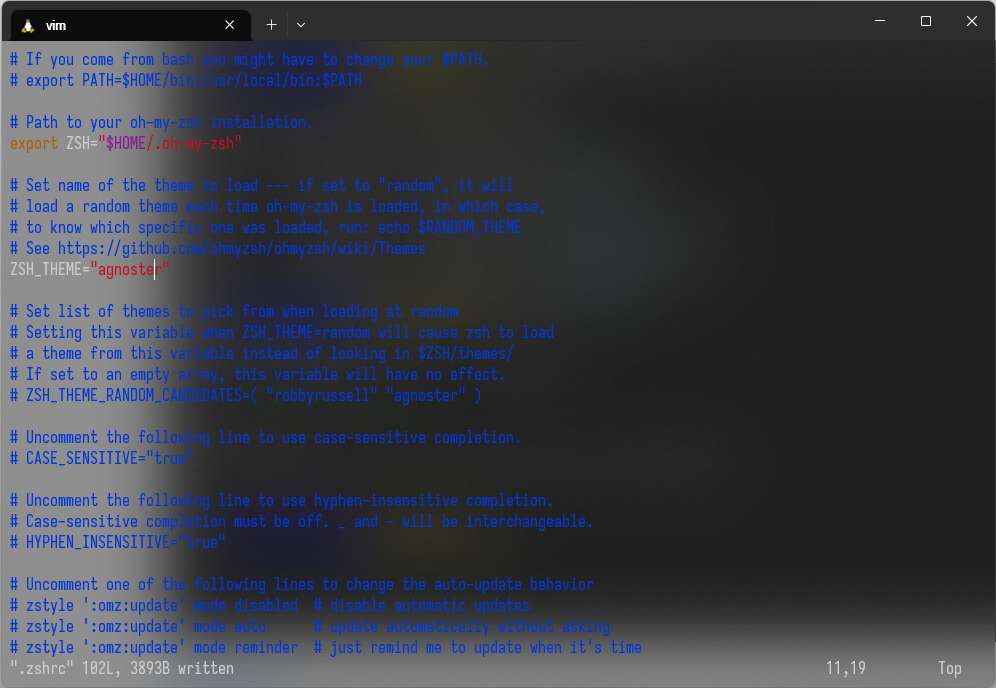

source ~/.zshrc상기 명령어로, 현재 shell session에서 logout하지 않고, 바뀐 .zshrc 설정을 바로 반영하자.
Install powerlevel10k for ohmyzsh
하기 명령어로 powerlevel10k repo를 clone한다.
git clone --depth=1 https://github.com/romkatv/powerlevel10k.git ${ZSH_CUSTOM:-$HOME/.oh-my-zsh/custom}/themes/powerlevel10k~/.zshrc 파일에서 ZSH_THEME="powerlevel10k/powerlevel10k"을 설정한다.
nvim ~/.zshrc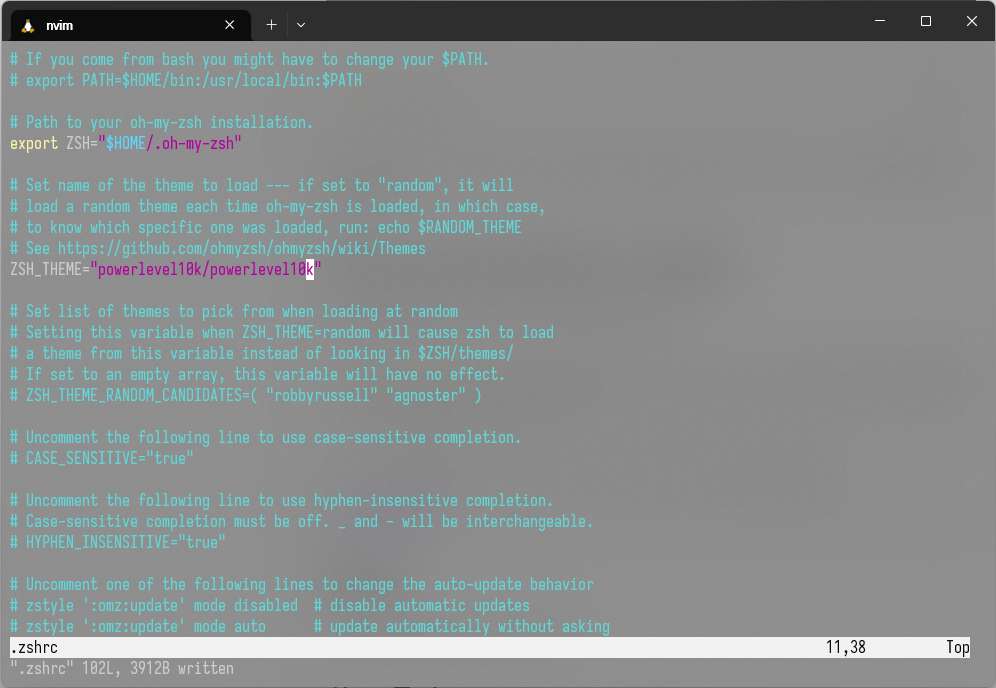
source ~/.zshrc이제부터 Powerlevel10k configuration wizard가 실행된다.
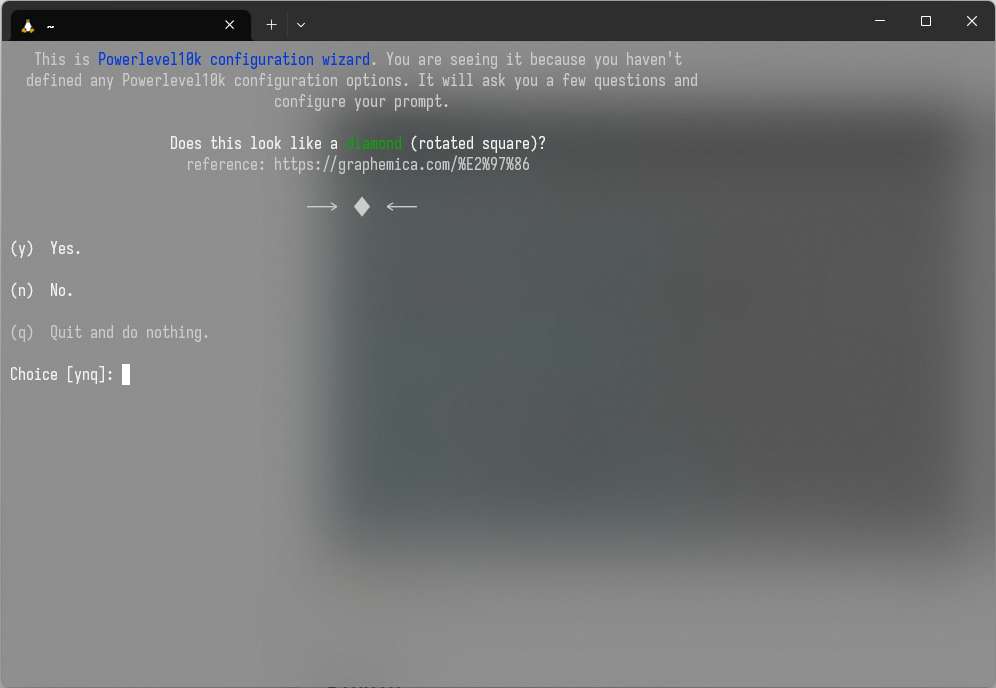
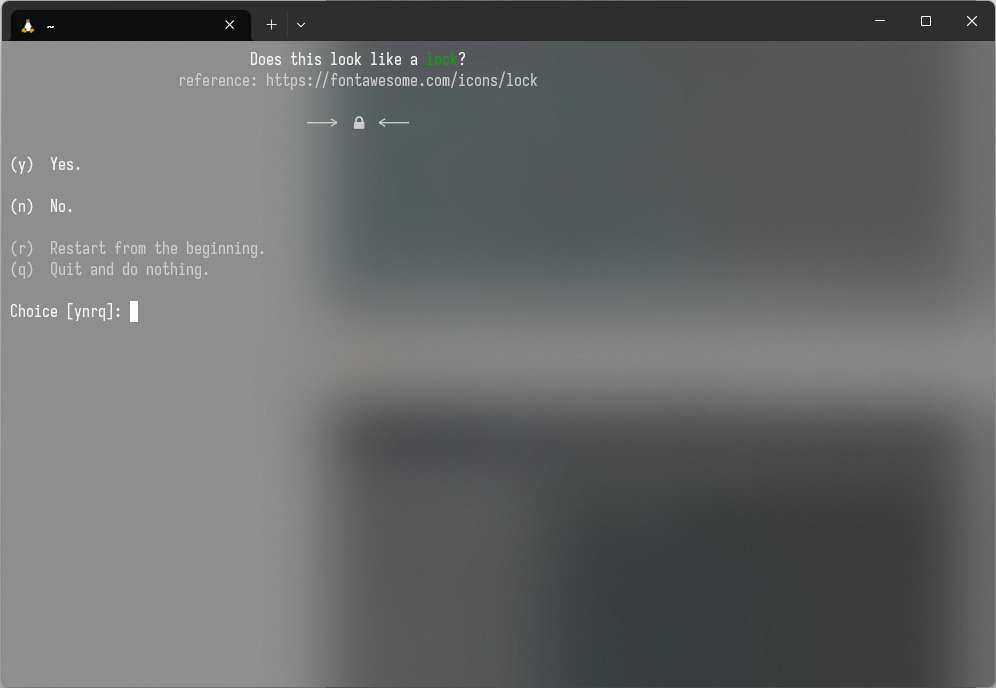
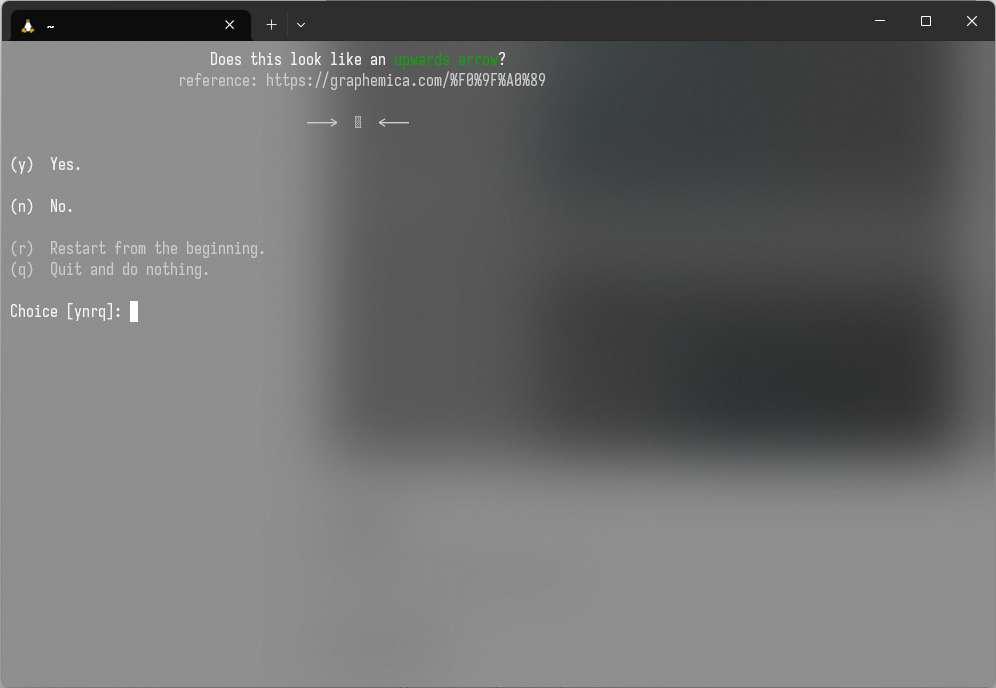
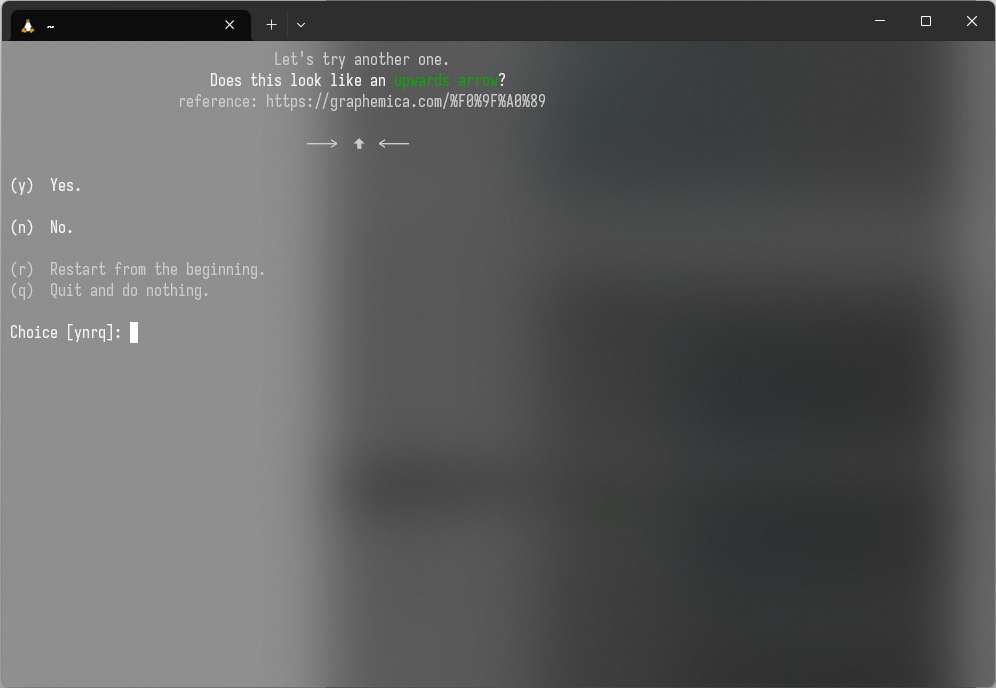
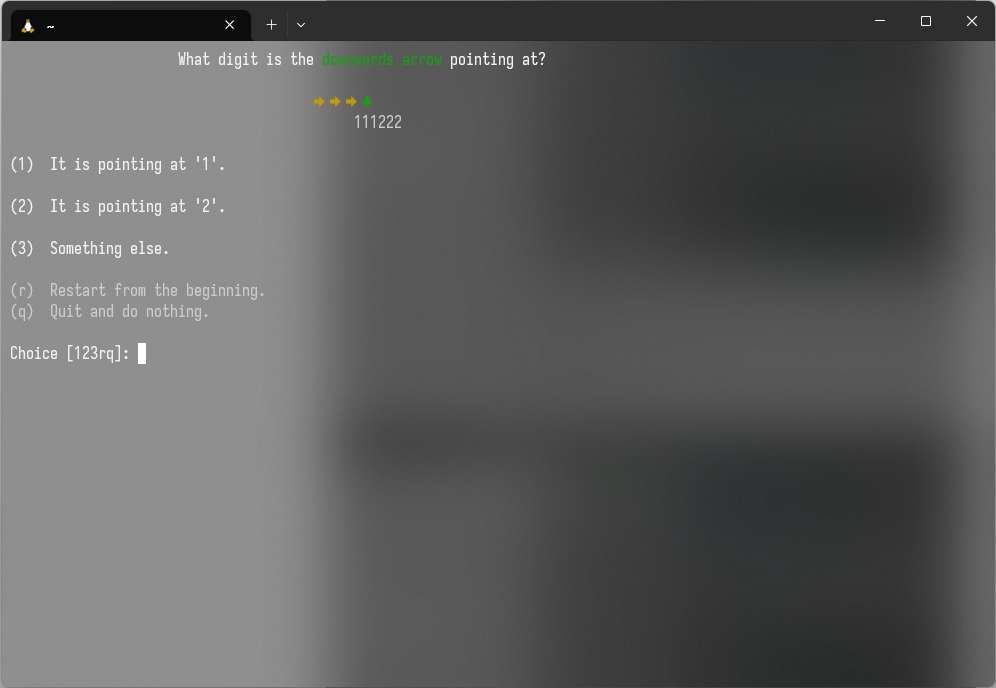
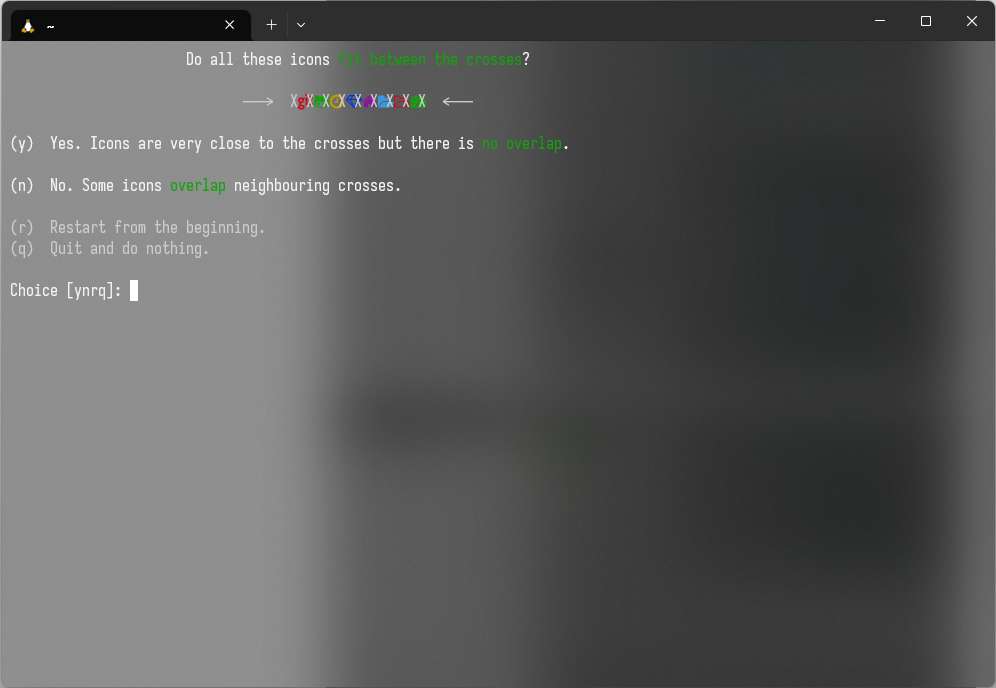 처음 몇 번은 폰트가 제대로 렌더링 되는지 확인을 한다.
그 이후에는 계속 어떤 설정을 할 것인지 물어 본다.
본인의 기호에 맞게 설정하면 된다.
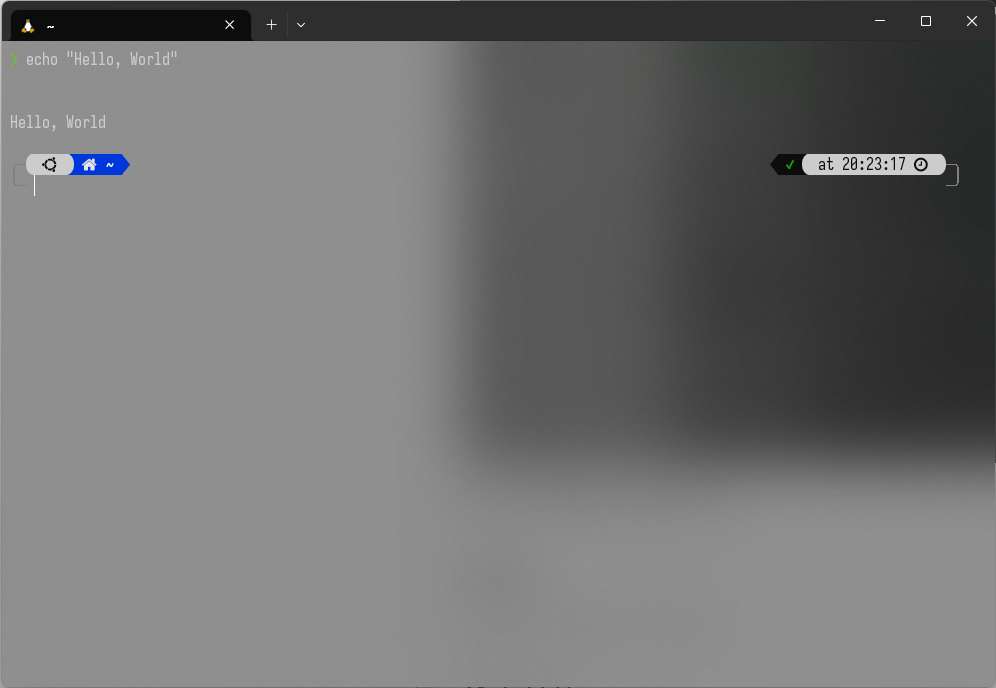
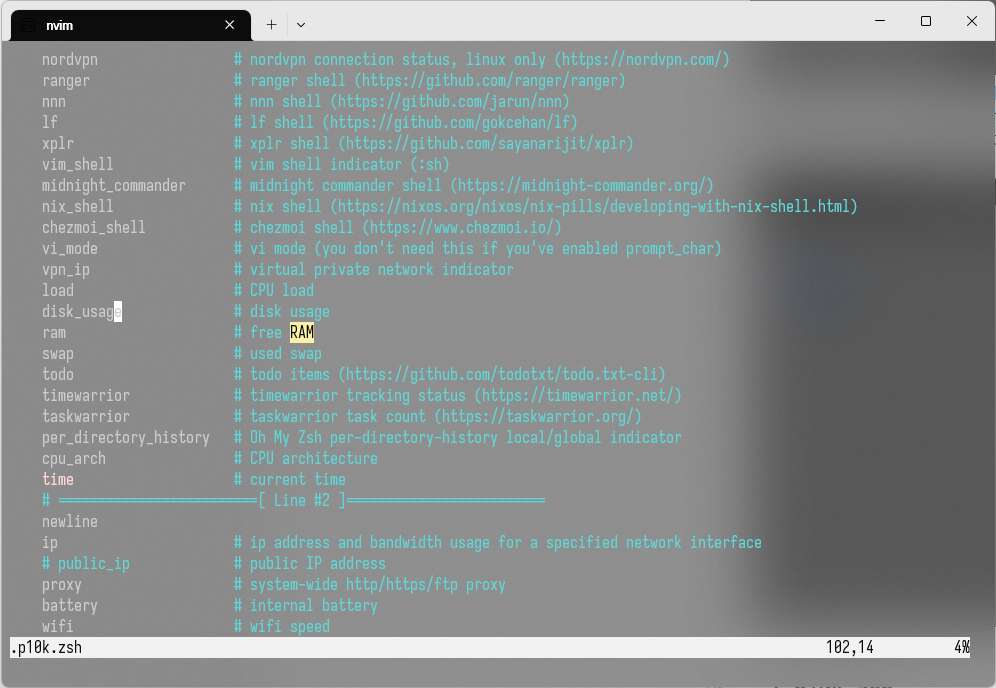
~/.p10k.zsh
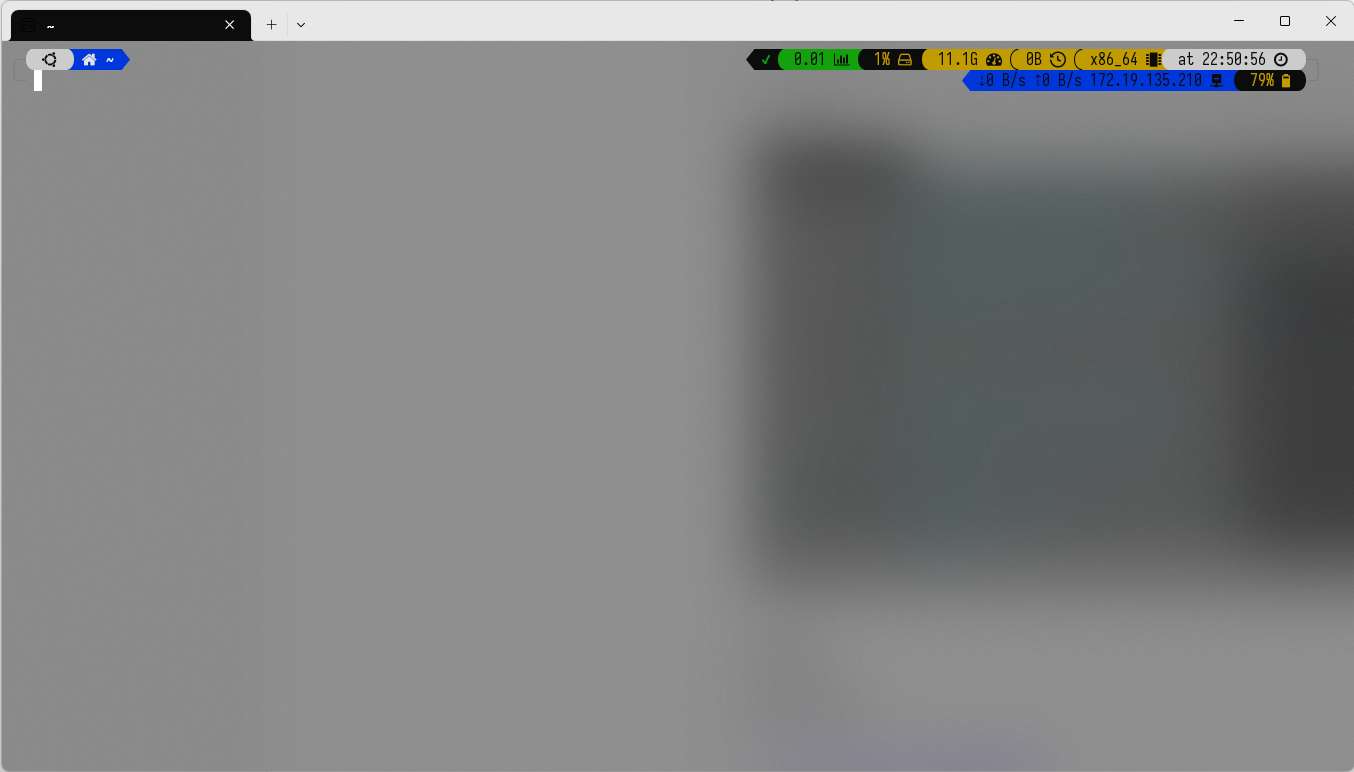
nvim ~/.p10k.zsh상기 명령어로 ~/.p10k.zsh 파일을 수정하여, prompt에 나오는 segments를 customizing할 수 있다.
Plugin
zsh-autosuggestions 설치:
git clone https://github.com/zsh-users/zsh-autosuggestions ${ZSH_CUSTOM:-~/.oh-my-zsh/custom}/plugins/zsh-autosuggestionszsh-syntax-highlighting 설치:
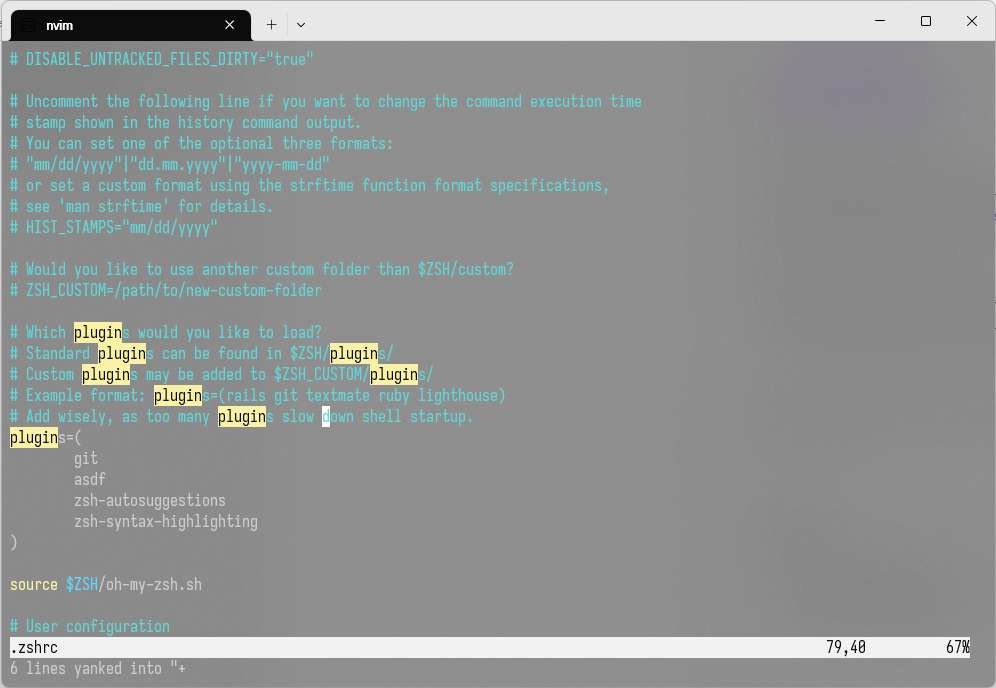
git clone https://github.com/zsh-users/zsh-syntax-highlighting.git ${ZSH_CUSTOM:-~/.oh-my-zsh/custom}/plugins/zsh-syntax-highlighting~/.zshrc plugin definition 수정:
nvim ~/.zshrcplugins=(
git
asdf
zsh-autosuggestions
zsh-syntax-highlighting
)
source ~/.zshrc상기 명령어로 session logout을 하지 않고, ~/.zshrc 변경 사항을 바로 적용한다.